Learn to Use Vrex in VR in 3 Easy Steps
This quick-start guide covers the basics you need to begin taking part in meetings and reviews in Vrex. Whether on desktop or in VR, you’ll be ready to collaborate and navigate your first project confidently.
Trying to join Vrex on your PC screen viewer? Use this guide.
1. How to Move Around
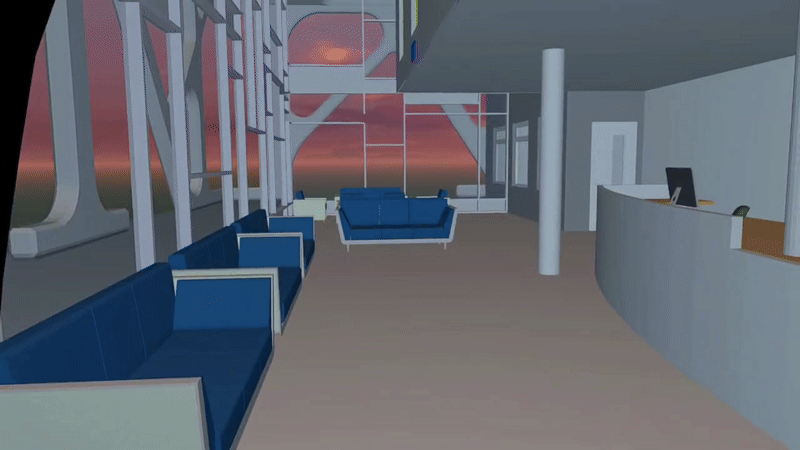
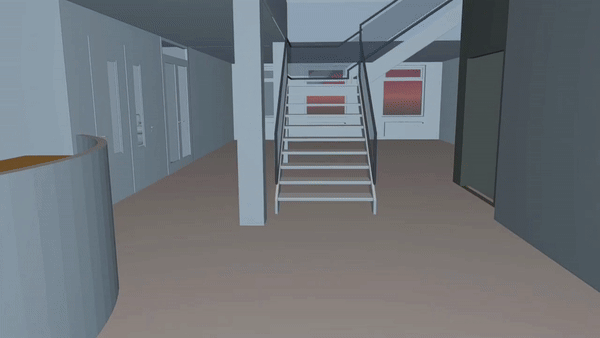
How to move
Smart Navigation
- Push the right joystick forward to walk in the direction you’re looking
- Release the joystick to stop
- Use the grip button to fine-tune your position
- Push the right joystick left or right to rotate
Tips
- Move slowly to stay oriented, especially in narrow or complex areas
- Practice walking toward doorways or walls to build comfort
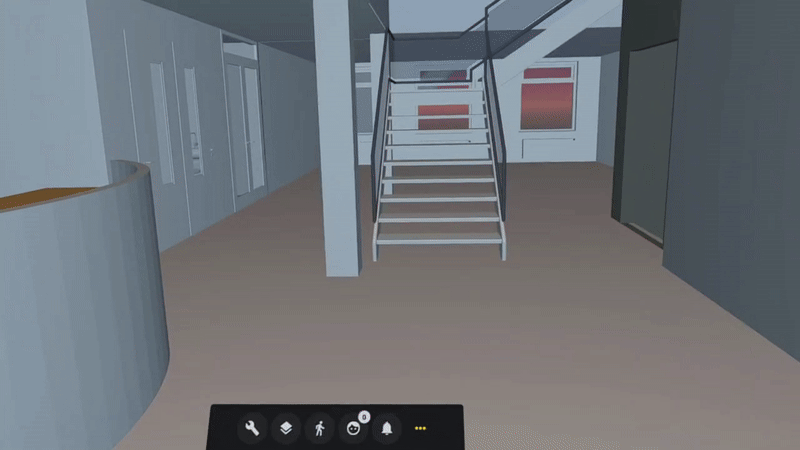
What to know
- Adjust walking speed using the slider in the left-hand menu
- Switch navigation modes by clicking the person icon in the same menu
2. How to Use the Laser Tool
How to find and activate the laser tool
- Look to your left-hand toolbelt
- Click the wrench icon
- Select the laser pointer icon to activate the laser
- Once selected, hold the trigger button on your controller to point the laser from your hand
Tips
- Use it during walkthroughs to highlight specific areas
What to know
- Everyone in the session can see your laser
- The laser turns off when you release the button or switch to another tool
3. How to Draw or Mark Up
How to find and activate the drawing tool
- Open the left-hand toolbelt
- Click the wrench icon
- Click the paintbrush icon
- Choose your drawing type:
- Draw on surface – attach sketches to floors, walls, or objects
- Draw in the air – float sketches in 3D space
How to draw
- Hold the trigger and move your controller like you would a pen
Drawing on the model
Drawing freely in 3D space
Tips: When to draw on surfaces
- To mark a specific issue or location
- To suggest changes to equipment placement or layout
- To provide clear, context-specific feedback
Tips: When to draw in the air
- To outline zones or volumes where no surface exists
- To sketch conceptual ideas without anchoring them to an object
- To illustrate spatial sequences or flows
What to know
- All participants can see your drawings
- Drawings remain visible until deleted, but they are not saved after the session
- Take screenshots to save them for future reference
Now you’re all set to get started in Vrex!
Moving around your model with these tools will make collaborating with project teams more productive.
Need Help?
If you’d like to explore more advanced features, review best practices, or schedule training for your team, our Customer Success team is here to support you. Contact us at support@vrex.no